How to hang
Up in minutes, no tools.
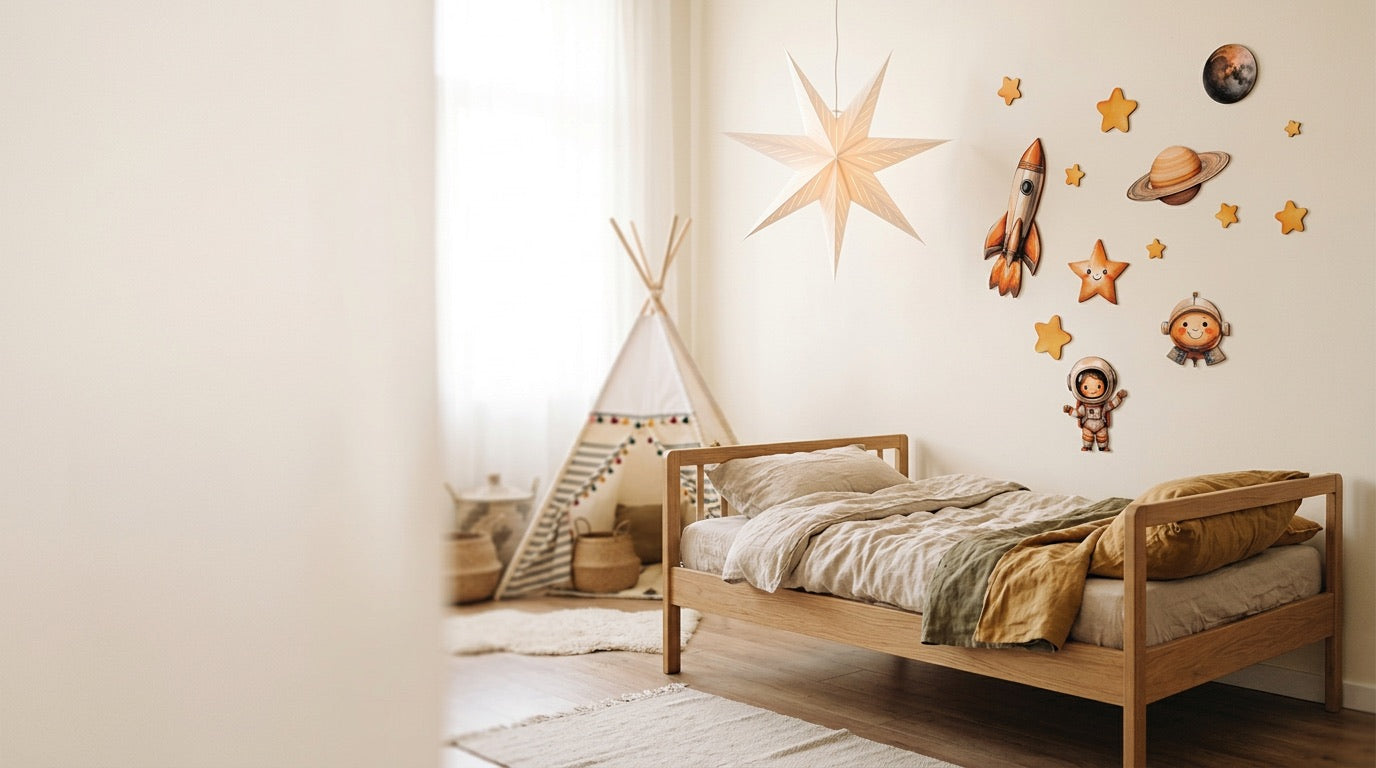
Every set arrives as separate birch pieces with adhesive pads included. Arrange, peel, press — and restyle it whenever the room grows up.


Arrange your set
Spread the pieces on the floor and find a layout you love before anything goes up.

Wipe the spot
Make sure the wall is clean, dry and smooth so the pads grip well.

Peel the pads
Each piece comes with double-sided pads — stick one on the back and peel the film.

Press to the wall
Hold each piece firmly for a few seconds. No nails, no drilling, done.
Works best on…
- ✓Smooth, painted drywall
- ✓Clean, dry surfaces
- ✓Flat woodwork and doors
Go easy on…
- ×Textured or brick walls
- ×Freshly painted walls (wait ~2 weeks)
- ×Damp or dusty spots
Plan your layout before you press.
Lay the pieces on the floor first, or tape their spots on the wall, until the arrangement feels right. The pads hold firm once pressed — so it’s worth a moment to picture it first.