Home› Journal› How to Create a Nursery Gallery Wall (with Wood)
How to Create a Nursery Gallery Wall (with Wood)
How to build a calm nursery gallery wall with real wood: mixing birch pieces, prints and a mirror, with simple spacing and layout tips.

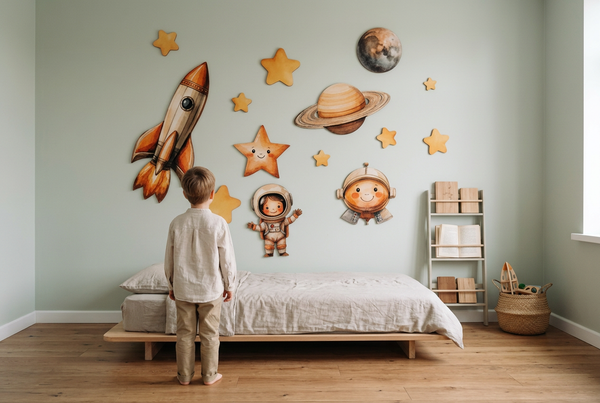
A great nursery gallery wall mixes a few real-wood pieces with one or two prints and a mirror, spaced with room to breathe. The trick is restraint — a calm, slightly-asymmetric cluster reads far more considered than a wall packed edge to edge. Here's how to build one.
Start with a hero set
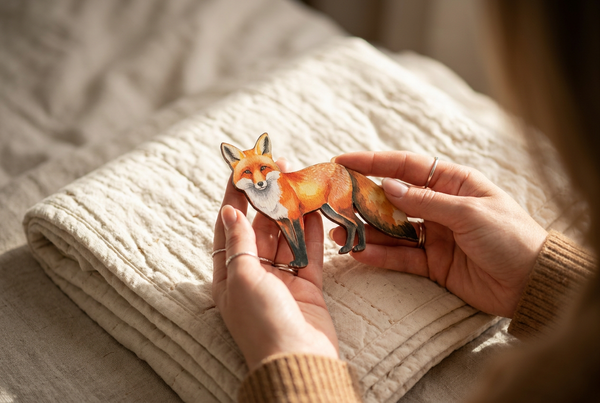
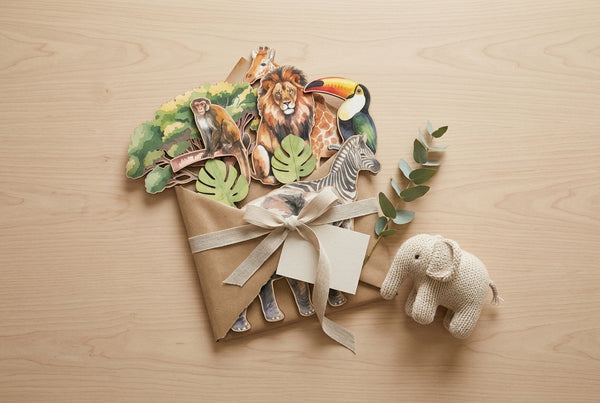
Let a birch wall-art set be the anchor — its separate pieces already form a scene, so half the composition is done. Arrange it first, then build around it.
Mix in a print and a mirror
Add one or two simple framed prints for flat contrast and a shatterproof mirror to bounce light and break up the shapes. A mix of wood, paper and reflection keeps a gallery wall interesting without clutter.
Spacing and layout
- Lay it out on the floor first and photograph it before you hang anything.
- Anchor with the largest element, then balance smaller pieces around it — aim for a loose, slightly-asymmetric shape, not a rigid grid.
- Keep consistent gaps (a hand's width is a good guide) and leave negative space at the edges.
- Center it at standing eye level above the cot or dresser. (See how to hang without nails.)
Keep it calm
Stick to one palette and resist filling every gap — the space between pieces is what makes a gallery wall feel designed.
FAQ
How many pieces should a nursery gallery wall have?
Fewer than you think — one wall-art set plus a print or two and a mirror is plenty.
How do you space a gallery wall?
Consistent gaps (about a hand's width), a slightly-asymmetric layout, and negative space at the edges.
Build your wall: shop birch wall-art sets.